Let me start by saying this was the FIRST home project of this sort that I have ever done. I tried to take a ton of pictures to detail everything I did so as to help you learn what to do and, probably, what not to do. I'm planning to do our master bath next and there are definitely things I'll do differently next time!
First, and probably most importantly, if you have pets, kids, a husband, or anyone that has hair of any kind, you should quarantine them for several days. If you don't want to lock them in a separate part of the house, then I suggest you get a lint roller or sticky mop (they sell those on infomercials I believe) and go over the ENTIRE floor every time you're about to do anything. I know, you're probably thinking, "...but I cleaned the floor!" Yeah. You THOUGHT you did. My husband scrubbed the floor really well, but apparently the walls share hair. Or something to that effect.
Here are the steps, IN ORDER, for this project. I'll put more details in the pictures below this part. This is just the quick bit.
1. Clean the room, top to bottom. Seriously. Dust from the baseboards would float onto the floor (and yet we thought we'd wiped them down). Clean the room to the point where you'd eat off of any surface in there. Scrub the linoleum very well.
2. Use the sander/deglosser and a lint-free rag to degloss the linoleum. Follow the directions on the bottle.
3. Prime the floor. I used a brush for the edges and a roller for the main portion. If you're taping, use Frog Tape, not the blue crap. Seriously. Frog Tape is so much better!!!
4. Paint your base coat. Let it have a night to dry before you start stenciling. I did two coats even though the primer I used was a paint/primer in one.
5. Spray the back of your stencil with adhesive and give it a few to dry.
6. Stick the stencil(s) to the floor. I laid a paper towel over the stencil and then rubbed the stencil to be sure it was stuck well in all places. (It worked pretty well, but not 100%, so be sure to not use too much paint).
7. Use a sponge brush (I used one like kids use for art, lol) to paint your design.
8. Give it at least 2 hours before you paint anything layered.
9. Once the designs are finished, apply the clear coat. I did 4 coats.
10. Keep your family away for at least 2 days while it "cures". Yes- it says it's ready before that on the can. Do you want to risk it? Didn't think so.
Supplies came from:
Hobby Lobby- large flower stencil and repositional spray stencil adhesive
Sherwin Williams- paint, roller, paint tray, paint brushes, frog tape
Michael's- Folk Art roll-on repositionable stencil adhesive (terrible), small flower stencil
Lowe's- Minwax water-based polyurethane; Zinnser Bull's Eye 1-2-3 primer for all surfaces
I use coupons for every single item I purchased except for at Lowe's. The entire project cost just under $100 and I have leftover paint, primer, and clear coat for my next projects. ;)
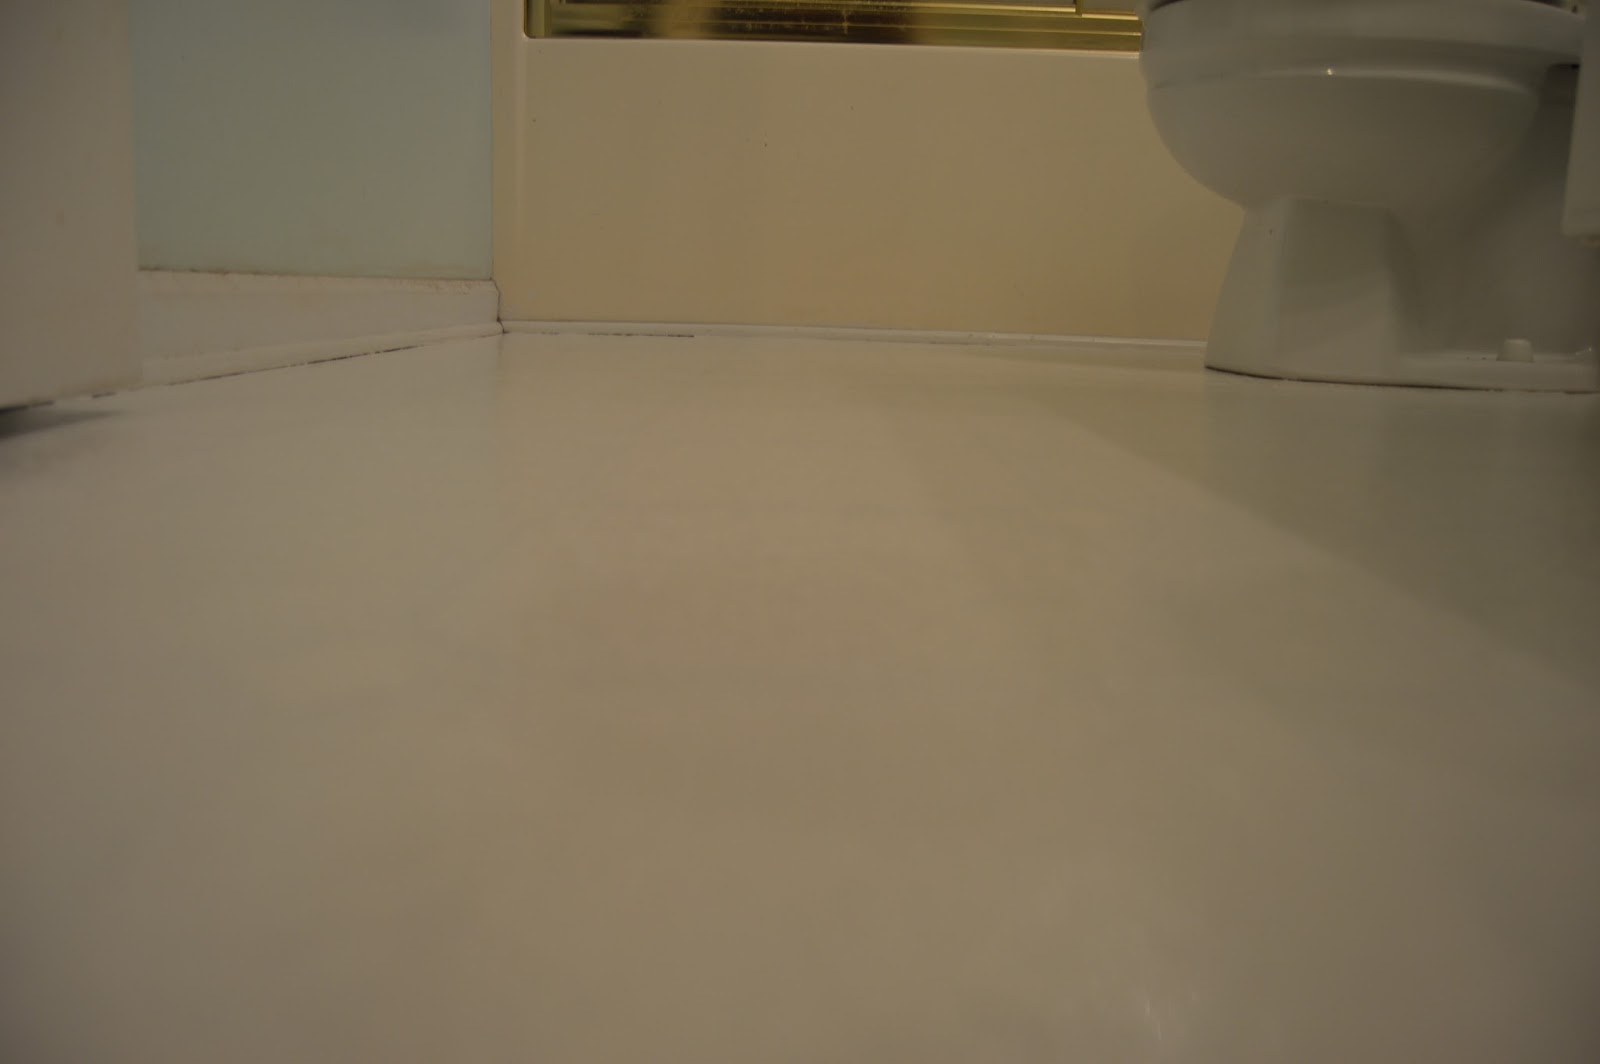
So here is the bathroom before. Yuck, right?!


This is once I'd put down the primer. It was a beautiful shade of nothing. I just bought the primer and didn't have color added because I want to use it for future stuff.


Base coat numero uno. Can't tell much difference between that and the primer in the pictures.
Base coat numero dos. Still looks the same in pictures, but it didn't in person. Just trust me on this. Like I said, I brushed the edges and then rolled the main portion of the floor.
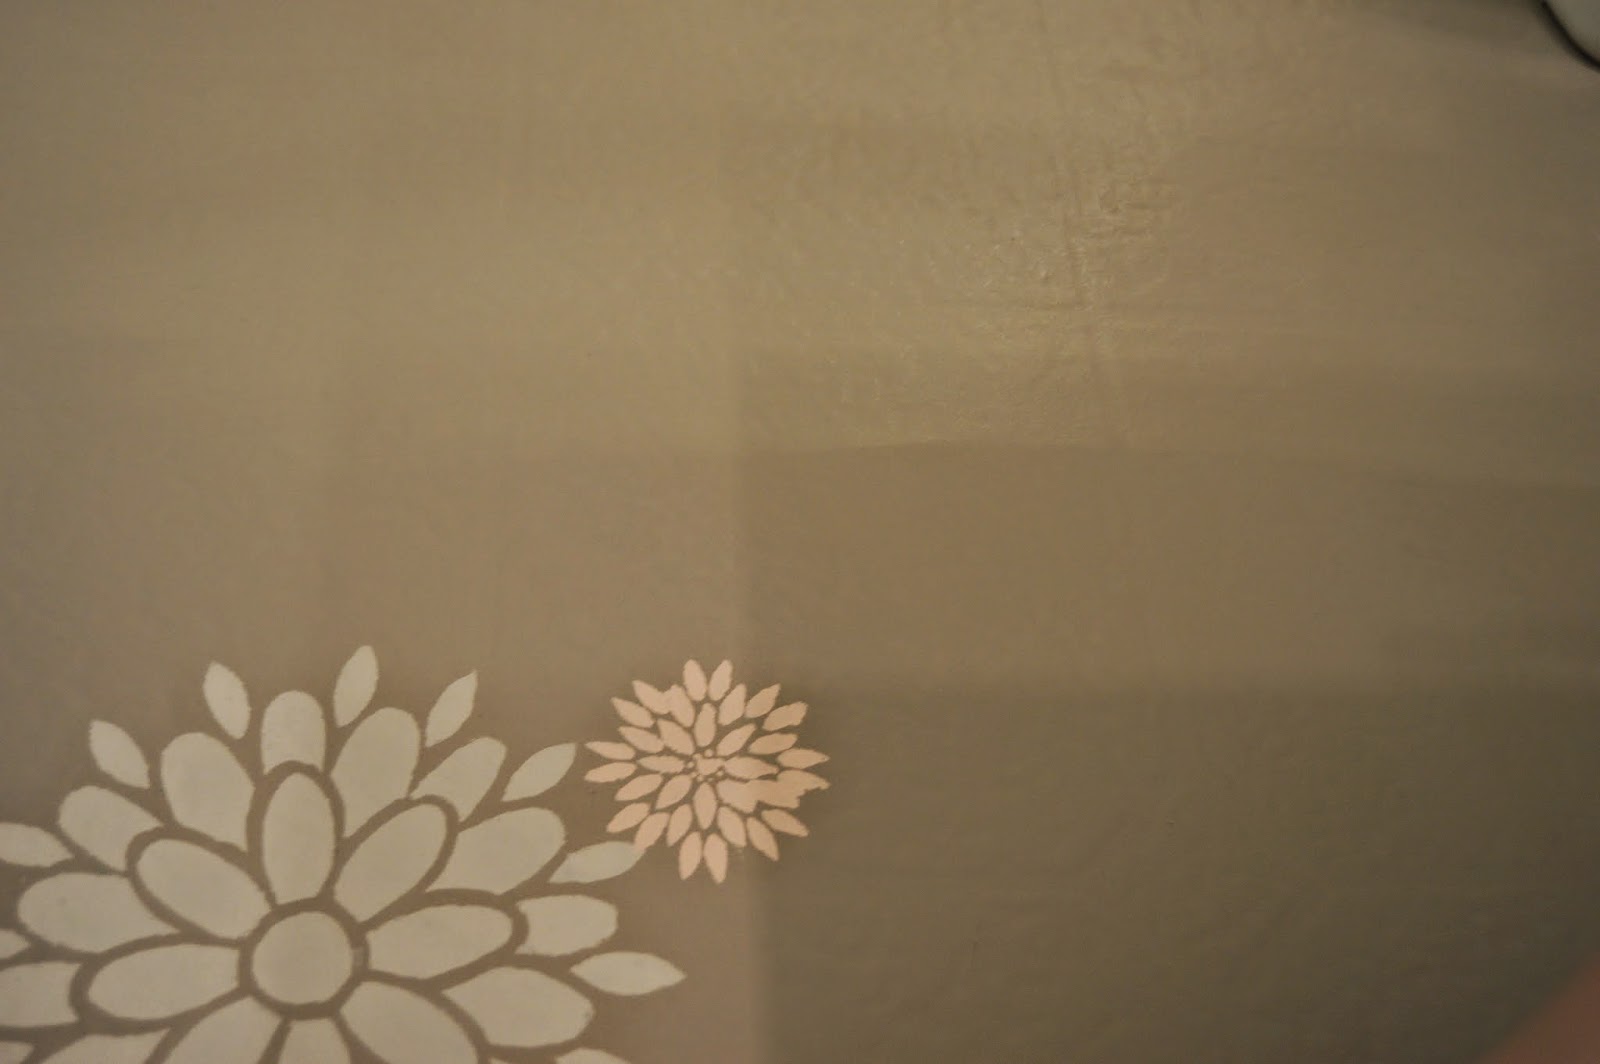
 Here's where the stenciling started. I did the blush first because, with boys outnumbering me two to one at this point, I wanted to be sure I didn't overdo this color. It's my favorite of all the colors we used, though. This is Sherwin Williams' "Blushing" color.
 These, sadly, were done with the adhesive from Michel's that was roll on or whatever. The Folk Art one pictured below... and it sucks.
DON'T USE IT.
See how much running it allowed? Ew. 
 Here are pictures of the different stages of stenciling.
I went back over that very ew flower with the original base coat color using a very tiny paintbrush that I had on hand. I just freehanded around the petals and then used the same brush to freehand the lighter color back inside the petals. (pictured later)
 More running...
But TA DA! After freehanding, it's much better!!!
 Here's the finished floor.
The green is my least favorite part, but it's a darker shade of the wall color, so it works.


All done! I have to say, I'm pretty happy with the final product. I am glad I started small, but I can't wait to do more rooms this way! It's a totally updated look for a very outdated bathroom! Now to find a shower curtain to cover the ugly shower doors....


 Here's the paint we used. The colors were listed in a previous blog, but the base is Perfect Greige, the pink is Blushing, the green is Hazel, and the lightest color is Popular Gray.
  This is the stencil from Hobby Lobby. The little one was from Michael's. I cut it off of a set of three.
 For some reason it isn't letting me rotate this picture, but oh well. This is the stencil adhesive that I really liked. The downside to it is that it stuck so well, it did leave a little of the stencil's blue on the floor. That came up very easily with my nail... much easier to do that than to fix the paint running.
This is the one that didn't work well.
Don't buy it.

Be sure yours says CRYSTAL CLEAR FINISH. It'll be milky as you paint it, but it dries clear. Also do NOT use oil based!! WATER BASED ONLY or else your floors will turn yellow later. ( I read that on other blogs!)
This is the brush I used for the edges and the poly. It worked well for everything.
Things I'll do differently next time:
1. Lint roll the whole friggin room and do that every time before a next step happens.
2. Buy a better spongy tool for applying the stencil paint. I'm sure some of the running was just because mine wasn't the best thing and the small roller was too big and lint-y for the job.
3. Pay attention to where my hair is swinging so I don't end up with tiny frosted tips in one section.
I'd love to see how this project looks in your home!! Feel free to ask questions. I've been painting something off and on for almost a week so fumes may have caused me to forget to post something here... or forget my name... nothing important though. :)
Thanks for checking out this project! Let me know what you think!!
***I was NOT paid or given ANY free items for this post or by any of the stores or brands mentioned above. However if you work for them and want to give me free stuff for my next project, I love free stuff. You look pretty today, by the way. New hair cut?***
I love your bathroom floor, well done... very different from other painted flooring and your instructions are easy to follow and make perfect sense. I like the understated pattern, very attractive. I'm exploring if this is something I can/want to to do on my bathroom floor and very glad I found your article. Thank you! Just one question, if I may, how has the floor held up?
ReplyDelete